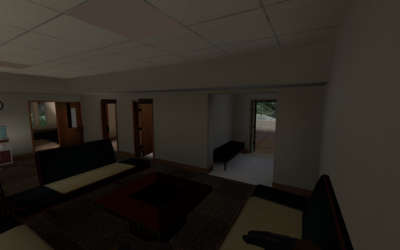
Riverside Rooms
Riverside Rooms (Detailed)
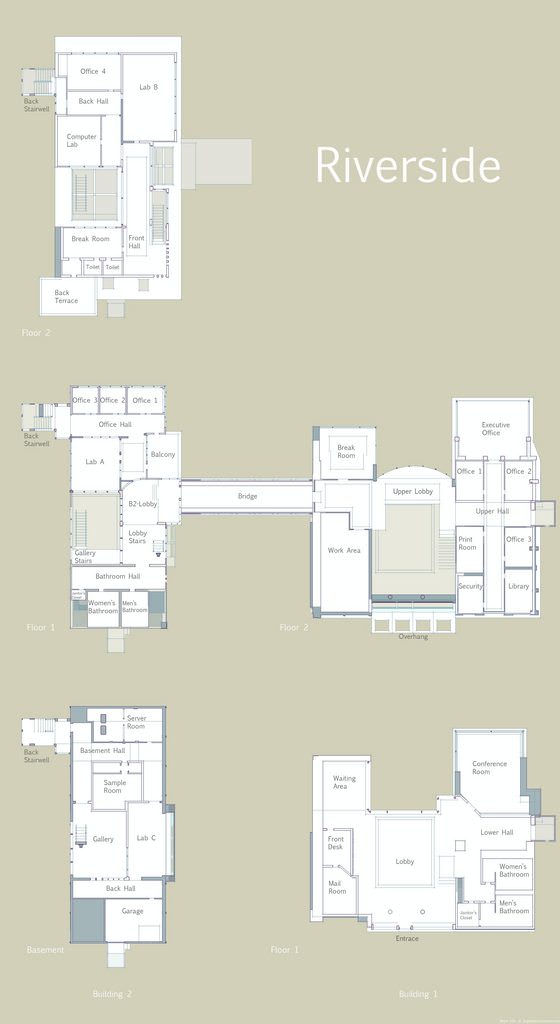
Below are the locations and descriptions of every room in the map Riverside, as well as possible strategies associated with each room.
Floorplan
Building 1 (intruders)
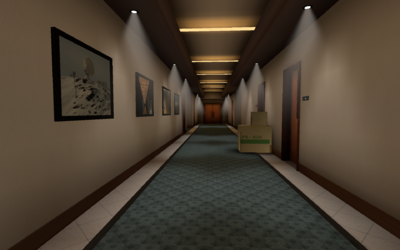
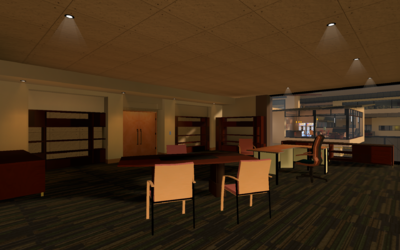
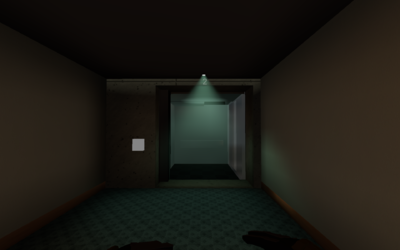
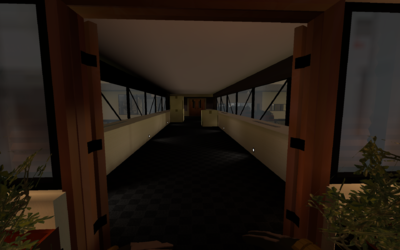
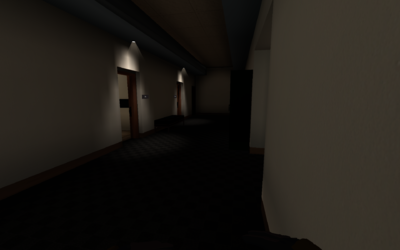
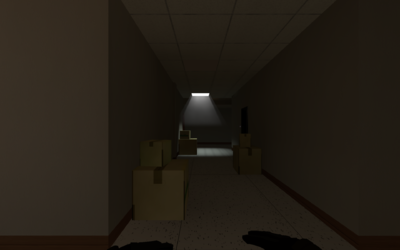
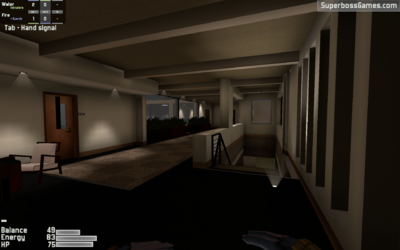
Intruder Spawn (Upper Hall B1): This long hallway is where intruders spawn in B2 Raid gamemode (most common). There are 6 side rooms and a large executive office at the end of the hall.
Library:
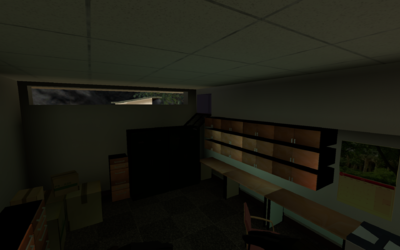
An adjacent room to the Intruder spawn hall, the library has a quick way to the garden and intruder back rocks through it's windows.
Print Room:
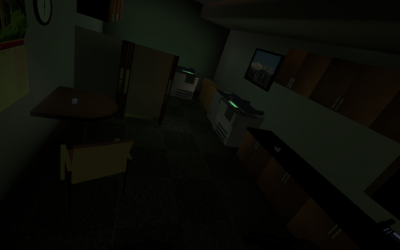
An adjacent room to the Intruder spawn hall, the print room holds two red dot sights that are commonly grabbed by intruders at the start of the round. Furthermore, in B1 gamemode, the print room houses a package.
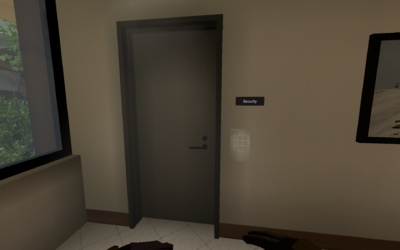
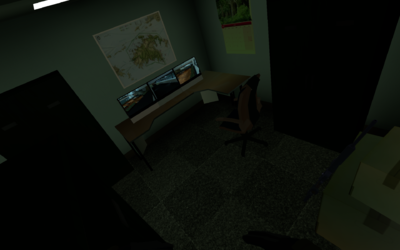
Security Room:
An adjacent room to the Intruder spawn hall. The security room is keypad-locked, and contains three security camera-linked computers which watch B1 and the bridge. Furthermore, the security room contains the intruder sniper rifle. The code to unlock the security room can be found in the two far offices and the executive office on a piece of paper (random location).
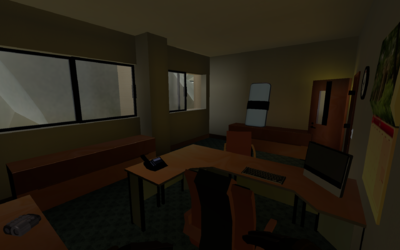
S. Marley Office (Office 3):
An adjacent room to the Intruder spawn hall, this office contains the intruders' riot shield. It's back windows can also be used as a way into the garden or back rocks.
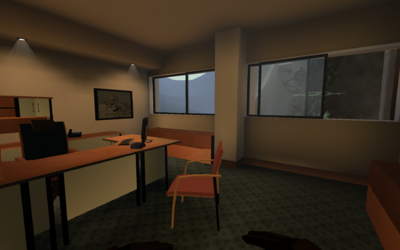
T. Harris Office (Office 2):
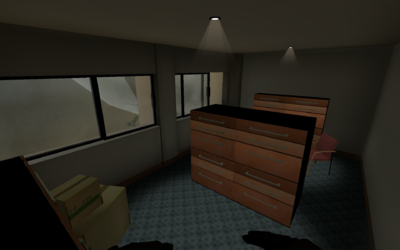
An adjacent room to the Intruder spawn hall, this office contains binoculars, and it's windows can be used as a way onto the vines. (vines lead to docks/water). This office is a potential location for the security room code.
J. Smart Office (Office 1):
An adjacent room to the Intruder spawn hall, this office is a potential location for the security room code. It also contains binoculars, and the office's windows offer a view of the bridge.
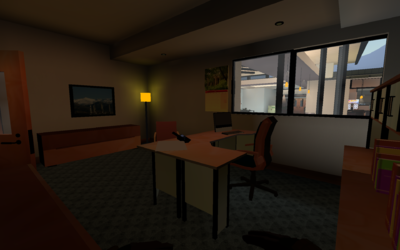
Executive Office:
This office (end of B1 Upper hall) contains 3 potential spawn points for the security room code. You can also access the vines from this office. Furthermore, this is a common location for intruder snipers to go (sniper nest). The executive office also offers a wide view of B2 and water/docks.
B1 Lobby:
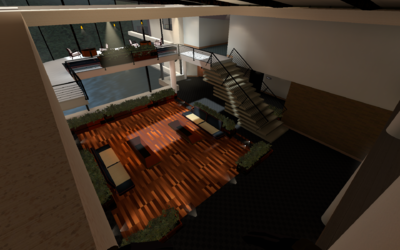
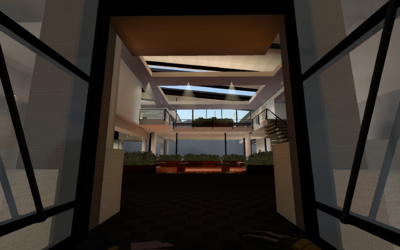
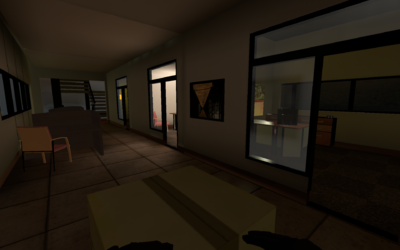
The large lobby of B1, divided into an upper and main part. Contains access to the work area, upper hall (spawn), water, bridge, break room, mail room/vents, and the garden. You can also access the rafters and roof by jumping on top of boxes.
Conference Room:
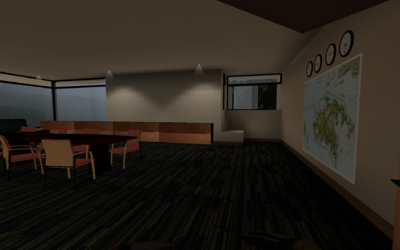
Located on ground floor, the conference room contains binoculars, and it's window leads to the vines. Sometimes used for sniping, other times for hiding. A common zone location in LMS mode.
Elevator and Elevator Shaft:
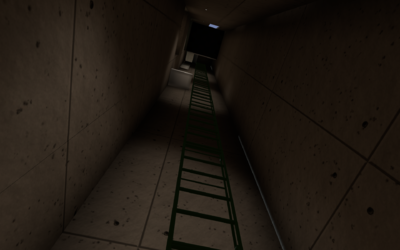
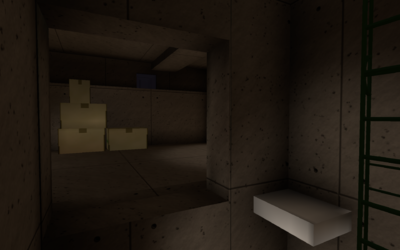
The elevator, located in B1, can be used to navigate floors without stairs/vents. The three possible stops are Docks, Level 1, and Level 2. The elevator contains a trapdoor at the top that allows you to exit into the elevator shaft. The shaft has a ladder that travels up and down the shaft, as well as a small room with a vent entrance, which leads to the janitor's closet. The elevator makes noises when entering/exiting, so it is not the most stealthy path to take.
Janitor's Closet (B1):
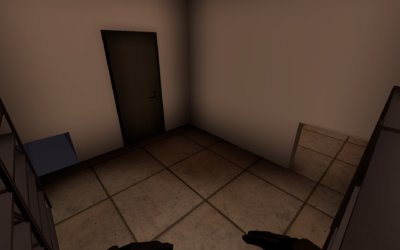
The janitor's closet is located adjacent to the men's bathroom (with a hole entrance). It also contains a vent that leads to the elevator shaft room.
Men/Women's Restroom (B1):
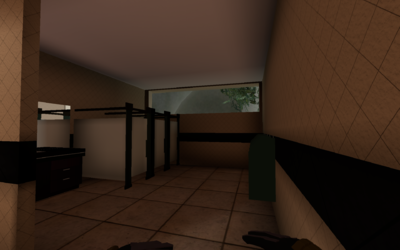
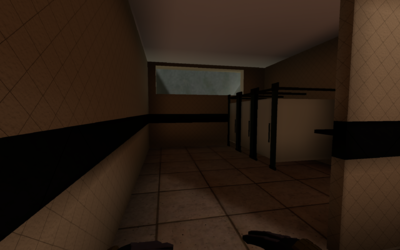
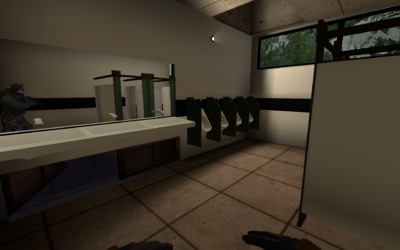
These bathrooms contain a back window that can be used to access garden. The men's restroom contains a hole entrance to the janitor's closet.
Front Desk:
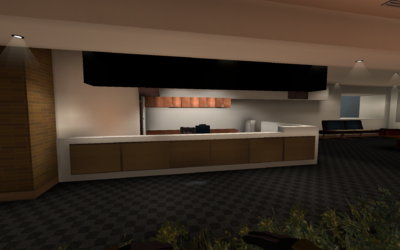
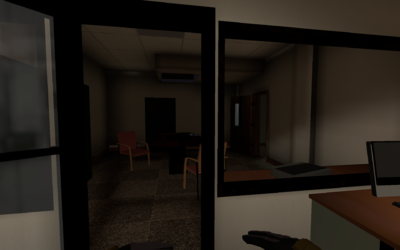
The front desk (ground floor B1) contains another red-dot sight and is the entrance to the mail room.
Mail Room:
The mail room contains the entrance to the main vent system (leads across bridge into the Server room or B2 bathrooms. In B1 Raid mode, the mail room houses a package.
Work Area (B1):
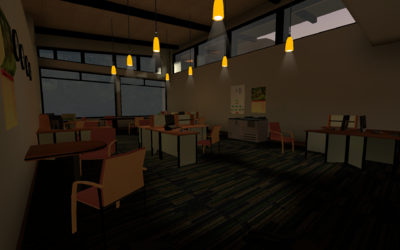
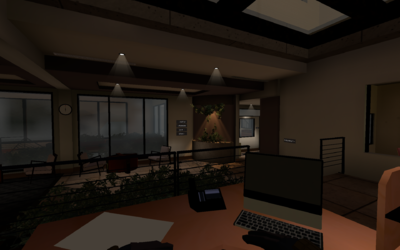
The work area contains binoculars and a red dot sight. From here, you can jump up to the rafters/roof. You can also enter the garden through the windows.
Waiting Area (B1):
The waiting area contains binoculars and a banana. From this room, you have a clear view of right-side B2, as well as the bridge.
Garden:
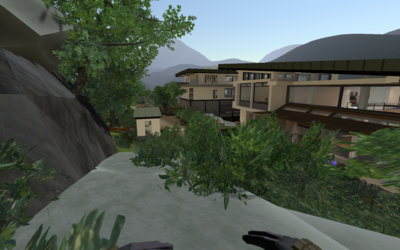
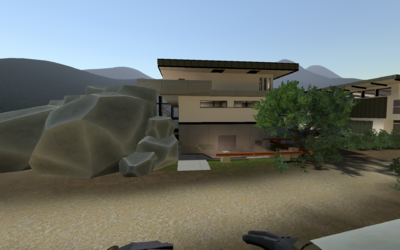
The garden (intruders side) is a common path intruders take. The garden has a tollbooth and multiple bushes/trees for cover. Intruders can also climb up the back rocks for a vantage point, or from there jump onto the roof. There is also a capture point, located by a green pickup truck. The B2 garden houses 4 possible entrances into the building: The garage vent, B2 Back rocks, B2 bathroom skylights, and the Gallery windows.
Docks:
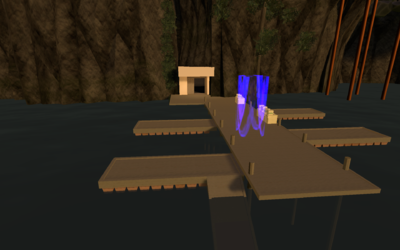
The docks contain a capture point. There are two possible entrances onto the docks from the water: a ramp and a ladder. You can also access the docks from B1 using either the vines, the elevator, or the elevator shaft ladder.
Bridge:
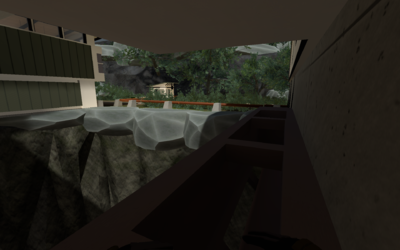
The bridge is the primary link between the two buildings, and contains 3 paths, a vent underneath, the main bridge, and the top of bridge. The bridge has boxes for cover, but can still be easily seen from B2's upper levels. The upper bridge can be accessed from the rafters and the roof, and the vent has an entrance in the mail room.
B2 Lobby:
The B2 lobby, which leads most rooms in the guards' building.
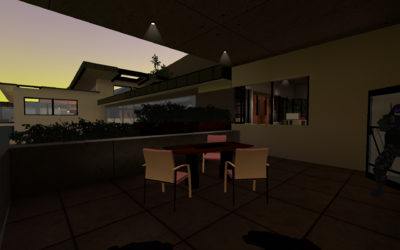
B2 Balcony (lower):
This balcony has two door entrances from B2, and offers a view of the docks, the bridge, and the intruder rafters/roof.
Office Hall (Guard spawn):
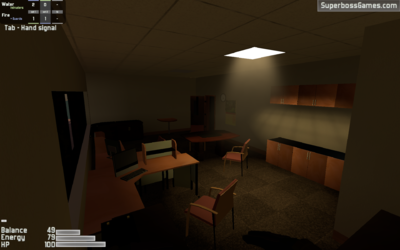
The guards' spawn is accessible from the lobby and the back staircase. It contains 3 side offices to guard Lab A (package room).
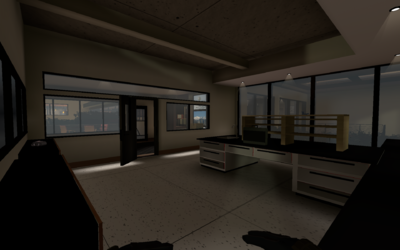
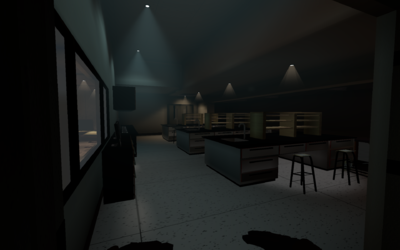
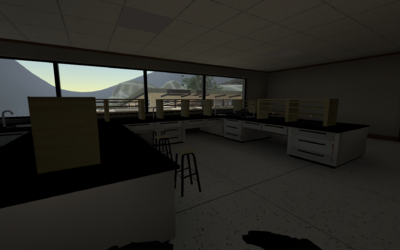
Lab A:
Laboratory A contains a package/objective, as well as a red-dot sight for guards. This room has many windows for entrance, as well as a main door. This room is generally not rigged in casual gameplay (difficult to cover all entrances).
B2 Bathroom Hall:
This hallway contains the main bathrooms in B2, as well as a janitors closet. This hallway is the primary vent entrance/exit location in B2. There are also slit windows commonly used by guards to watch the garden.
B2 Bathrooms:
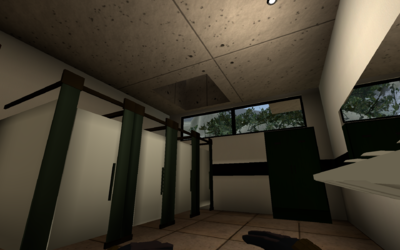
The men's restroom contain a ventilation entrance/exit to the main vent system. It also has a skylight that can be used as a drop entrance from the "balcony." There are also windows to watch garden for guards. The women's restroom contains a skylight entrance and another window set. These windows also have an overhang that you can use to traverse the restrooms without entering the hallway.
B2 Janitor's Closet:
The janitor's closet (located in bathroom hallway) contains a vent entrance that leads to the sample room.
B2 Gallery:
The gallery houses a staircase from the basement to the main floor. It also has entrances from the garage and garden. There are bushes that guards use to hide in to watch Lab A.
B2 Back Staircase:
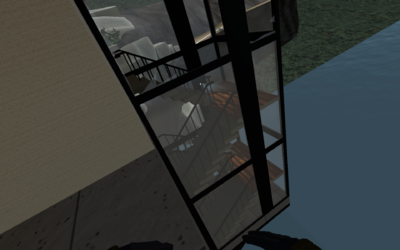
The back staircase is the primary way up and down Building 2. It contains an entrance to every floor, as well as the ladder leading up from the water. Due to it's glass walls, this staircase is vulnerable from snipers as well as intruders/guards on the back rocks.
Garage:
The dimly-lit garage contains an entrance from the garden, as well as a way into the basement floor of the building (common entrance).
Lab C:
This lab is a common path into the basement hall (server room) from the garage/gallery. It also contains a vent hood that can lead to water as an escape path, or from there jump into or watch the garden.
B2 Basement Hall:
The basement hall is dimly-lit, and contains entrances to the Sample and Server (Briefcase) room. It has entrances of Lab C, Back stairwell, and gallery. This hall has shootable lights that can make the room even darker.
Sample Room:
The sample room is a common hiding spot for intruders/guards, and has a vent exit (from janitors closet vent).
Server Room:
This room contains a briefcase (objective), and can be entered through the roof ventilation shaft or the main door. The room is usually rigged with explosive charges and sensors by guards in the beginning of the round.
B2 Upper Hall:
The upper hall contains a staircase entrance to the main hall. It's central windows are a common entrance for intruders crossing the upper bridge, and it's slit windows are commonly used as a vantage point guards can watch the garden from.
Lab B:
Laboratory B contains the guards' snipers and offers a wide view of Upper B1.
Office 4:
Office 4 is contains an entrance (windows) to the B2 overhang, which can be used for sniping or watching the back staircase and ladder.
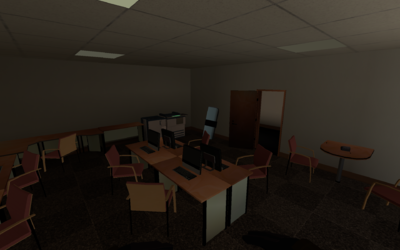
Computer Lab:
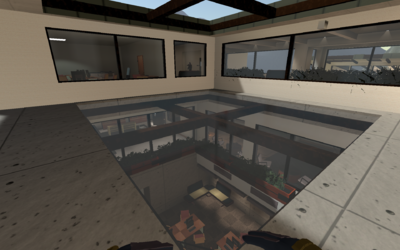
The computer lab contains the guards' riot shield, and offers a view of the gallery through a skylight.
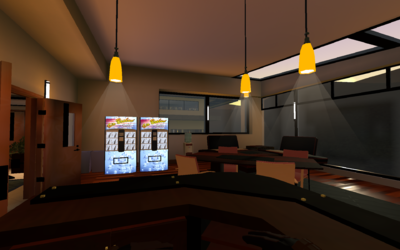
B2 Break room: The break room contains two bathrooms (used for hiding), as well as an entrance from the gardens' back rocks and terrace. The break room also contains a banana, and leads out to the upper hallway.
>:D
